
-
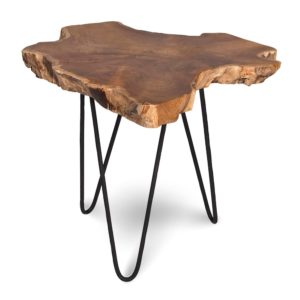
Style In Form Nesting Table Hairpin
Original price was: $429.00.$349.00Current price is: $349.00. -
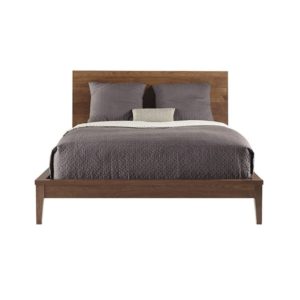
West Bros Serra King Walnut Bed
Original price was: $3,499.00.$2,799.00Current price is: $2,799.00. -
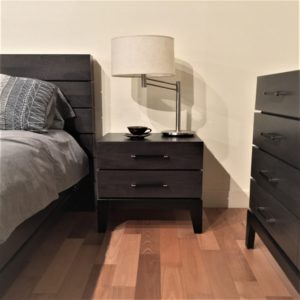
TH Definity Walnut Night Table
Original price was: $1,499.00.$1,199.00Current price is: $1,199.00. -
Ren-Wil Tupper Picture
Original price was: $549.00.$399.00Current price is: $399.00. -
Renwil Amika Clock
Original price was: $619.00.$489.00Current price is: $489.00. -
Torre & Tagus Flame Sculpture
Original price was: $159.00.$119.00Current price is: $119.00. -
Citak 5X8 Rug Arctic Thatch
Original price was: $599.00.$449.00Current price is: $449.00.
10 Tips to Choose the Best Wood Floor Easel?
Choosing the right Wood Floor Easel can change how comfortably and accurately you work. It supports more than a canvas. It supports posture, focus, and daily creative habits. A sturdy easel should stand firmly on the floor, even when a large canvas catches a sudden draft. Its height should match your working position, whether you paint standing or seated.
Artist and easel designer James Gurney offers a useful principle: “An easel should support the work, not compete with it.” That idea deserves attention. A beautiful wooden frame means little if its knobs slip, its tray wobbles, or its legs scratch the studio floor. Look closely at the wood grain, joints, finish, and adjustment system. Test the locking points. Small weaknesses become frustrating after hours of painting.
This guide explores 10 practical tips for choosing the best Wood Floor Easel. We will consider stability, size, portability, materials, canvas capacity, storage, maintenance, and price. A heavy oak easel may feel reassuring, but it can become difficult to move. A lightweight model may travel easily, yet shake under a broad canvas. There is no perfect choice.
Your room matters, too. Measure the corner before ordering. Leave space behind the easel for movement and light. Think about cleaning dust from the base. Some decisions will still be imperfect. That is normal. The goal is not to find the most expensive easel, but the one that quietly fits your hands, artwork, and working space.
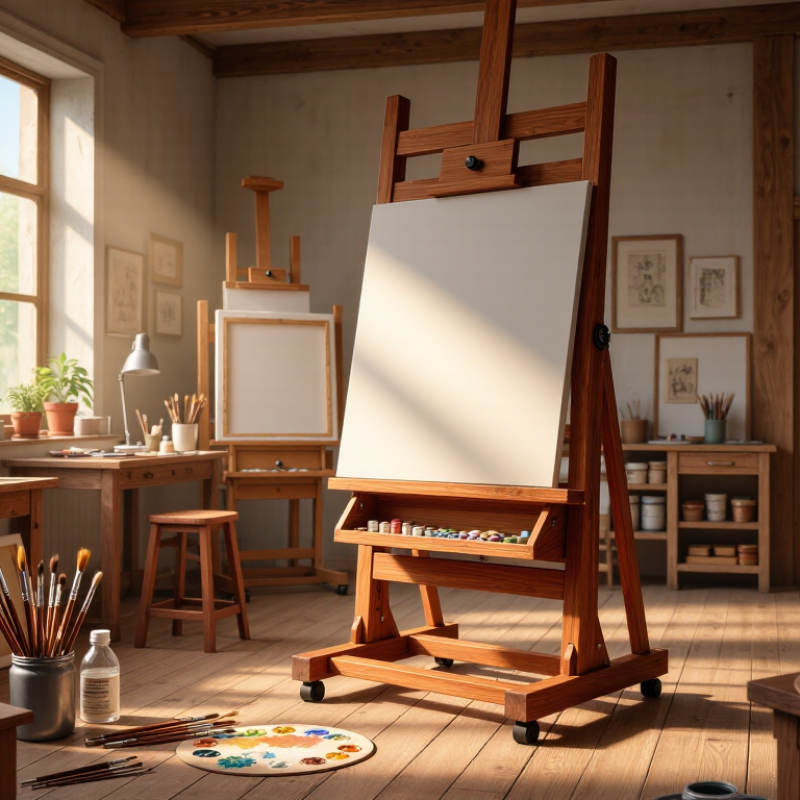
Assess Canvas Size, Weight, and a 15°–30° Adjustable Working Angle
Choosing a wood floor easel starts with the canvas, not the finish. In my studio, a beautiful easel failed because its lower ledge sat too low. Measure the canvas height, width, and frame depth before buying. Leave several centimeters above the frame for comfortable adjustments. A tight fit becomes frustrating quickly.
The working angle deserves careful attention. An adjustable range from 15° to 30° suits many painting and drawing positions. A 15° angle keeps the surface relatively flat for broad brushwork. A 30° angle can improve visibility during detailed work and reduce excessive neck bending. Test both angles while standing and sitting. Your wrist notices. Confirm that the locking system holds firmly at each setting. A loose hinge can change the angle without warning, especially with a heavy canvas.
Weight is equally important. Check the easel’s stated capacity, then compare it with the canvas, frame, and wet materials together. A wide base improves stability, while strong lower supports prevent downward movement. Solid wood does not always mean dependable construction. Inspect the joints, bolts, ledge, and adjustment holes closely. I once chose a sturdy-looking tripod with a weak lower joint. The canvas stayed upright, but every brushstroke caused vibration. That mistake changed my checklist. Place the easel on a level floor and apply gentle pressure before painting. If it shifts, the angle is not yet safe or practical.
10 Tips to Choose the Best Wood Floor Easel: Assess Canvas Size, Weight, and a 15°–30° Adjustable Working Angle
| No. | Selection Dimension | Recommended Specification | What to Check | Why It Matters |
|---|---|---|---|---|
| 1 | Maximum Canvas Size | Choose an easel rated for a canvas at least 5–10 cm wider and taller than your largest planned artwork. | Confirm the maximum canvas height, width, and support height in the product measurements. | Extra clearance makes loading easier and reduces contact between the frame and the upper mast. |
| 2 | Canvas and Artwork Weight | Select a rated load capacity at least 25% higher than the heaviest wet or framed artwork. | Add the canvas, stretcher bars, frame, wet paint, and any attached accessories before comparing capacity. | A safety margin helps prevent slipping, excessive vibration, and premature hardware wear. |
| 3 | Adjustable Working Angle | Look for a secure tilt range that includes approximately 15°–30° from vertical. | Test the locking mechanism at several angles, especially around 15°, 22°, and 30°. | A moderate forward tilt can improve viewing comfort and help reduce glare on the painting surface. |
| 4 | Height Adjustment | The lower support should adjust to a comfortable position for both sitting and standing. | Check the minimum and maximum support heights, adjustment increments, and locking points. | Correct positioning helps keep the main working area near eye level and limits back or neck strain. |
| 5 | Base Footprint and Stability | Prefer a wide, fully opened base with three stable contact points or a reinforced four-leg structure. | Apply light pressure to the upper mast and check for rocking, twisting, or uneven feet. | A stable base is essential for controlled brushwork and reduces the risk of tipping. |
| 6 | Wood Construction | Choose straight, well-seasoned hardwood or laminated wood with properly aligned grain and joints. | Inspect for cracks, open knots, warping, rough edges, and loose dowel or screw connections. | Dry, sound wood is less likely to deform and provides more reliable long-term support. |
| 7 | Canvas Support Lip | The lower ledge should be wide enough for the stretcher depth and finished with a smooth, non-damaging surface. | Verify that the lip supports the entire lower edge without covering the painted area or catching fabric. | A properly sized ledge keeps the canvas level and prevents dents or scratches. |
| 8 | Locking Hardware | Use threaded knobs, locking pins, or cam locks that hold firmly without requiring excessive force. | Open and close every adjustment several times; check whether locks remain tight under moderate pressure. | Reliable hardware prevents sudden movement while painting or changing the angle. |
| 9 | Foot Protection and Floor Grip | Select non-marking rubber or felt feet that remain firmly attached to the wooden legs. | Place the easel on a smooth floor and test for sliding, especially when the mast is tilted. | Protective feet improve traction and help prevent scratches on finished flooring. |
| 10 | Storage and Maintenance | Choose a folding design only if its folded dimensions and weight suit your storage area and transport needs. | Check folded height, depth, carrying weight, cleaning access, and whether moving parts can be tightened or replaced. | Convenient storage encourages regular use and makes it easier to protect the wood from moisture and dust. |
Practical note: Load ratings and adjustment ranges vary by construction. Always compare the manufacturer’s stated limits with the actual size and weight of your canvas, frame, and painting materials.